Get Your Dog To Love Nail Time

How to Get Your Dog to Love The Dremel: A Step By Step Guide
Giveaway closed. Congrats to the winner Marc Howard and his dog Remi.
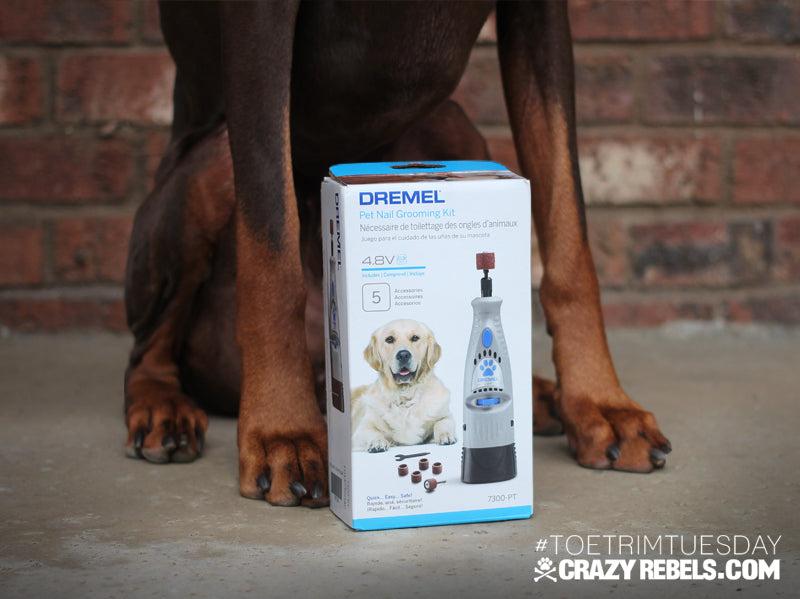
As we wrap up our Toe Trim Tuesday giveaway (there's still time to enter, giveaway ends tomorrow!), we hope to continue to inspire you all year long to keep up consistent nail care with your dogs. Trimming your dogs nails doesn’t have to be a daunting task, just take it slow and try to think of it as a bonding session with your dog instead of a traumatic event. We have trained several dogs in the manner so we believe in it’s success and want to pass along what has worked for us. We’ve put together a step by step guide for getting your dog used to, and even possibly enjoying, Dremel day.
** Do each step until your dog is very comfortable at each stage. No need to rush, it’s not a race. If you can get your dog super comfortable with the Dremel you will have a lifetime of easy nail care ahead of you.

Step 1: Get your dog familiar with the Dremel. We started this when our dogs were puppies, so it’s never too early to start. You can also use this method on older dogs and every age in between. But if you have the benefit of starting early on with a young pup, DO IT! Start now.
First you’ll want to pull out your Dremel along with treats (peanut butter or high value treats work best) in front of your dog. You can even put peanut butter on the handle of the Dremel and let them lick it off. *Just make sure the Dremel is unplugged or has the battery pack removed when doing this step. You are not even going to turn it on. You just want them to associate the Dremel with good things. You can touch the Dremel to their nails while treating them but just don’t turn it on yet.
Step 2: Now it’s time to turn it on. This step is similar to the first step, except no touching the nails to the Dremel while it’s on. Just treating and lots of praise and letting them hear the Dremel. You can ask them to sit and lay next to you while holding the Dremel that is turned on.
Step 3: Actual contact. We suggest two people for this step. It just makes it easier and safer. Even now when our dogs are socialized with the Dremel we typically tag team nail day and both assist in the process. We usually do this step outside as the nail dust tends to fly, ew. Lay a blanket or towel down on the lawn and ask your dog to lay on it. You generally want them laid out on their side so they are less likely to try to get up. One persons job is to distract the dog with treats and love and pets. A spoon full of peanut butter works well here as they are so intently focused on licking that they forget whats going on with their feet. Don’t be stingy, you will go through lots of peanut butter at this stage but it will be worth it we promise.
The other person’s job is to Dremel as efficiently as possible. It’s go time! Firmly hold one paw at a time so there is no wiggling and do one nail at a time with the Dremel. If at any time your dog becomes distressed just stop and try again the next day. You don’t want to have any negative association with the Dremel.
We slowly phased out the usage of treats. Usually petting, rubs and cuddles will do the trick just fine. But of course each dog is different and may always require some extra incentive.
Step 4: You’re done. Repeat once a week and your dogs nails will be in tip top shape.
The key here is to go slowly through all the steps to build a positive connection with what the Dremel represents. When our dogs see the Dremel they literally follow us to the backyard and lay down themselves because they know they’re about to get a massage.
This method has worked for us and many others so we hope it works for you too. If you have any questions feel free to email us directly, we’d be happy to discuss with you. Happy nail trimming!
